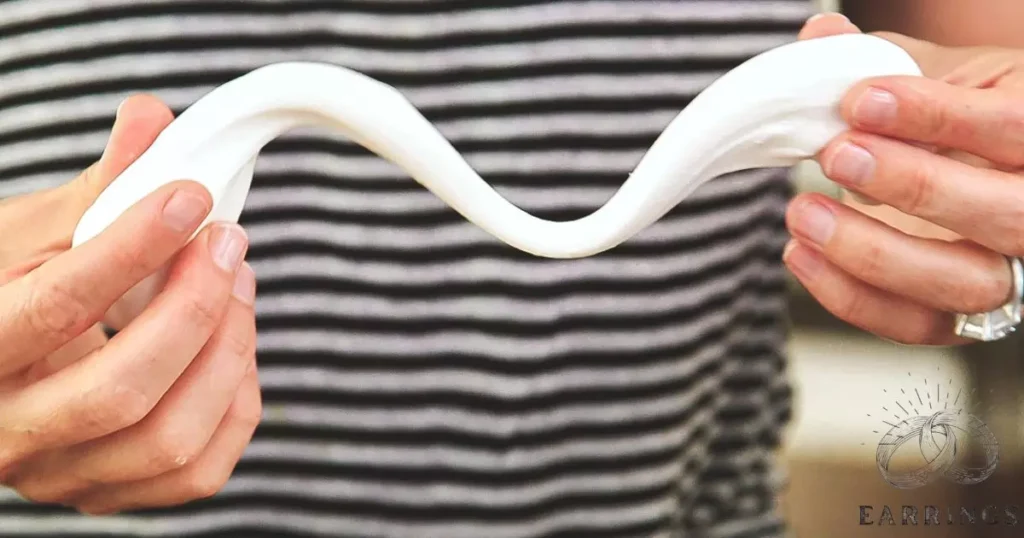
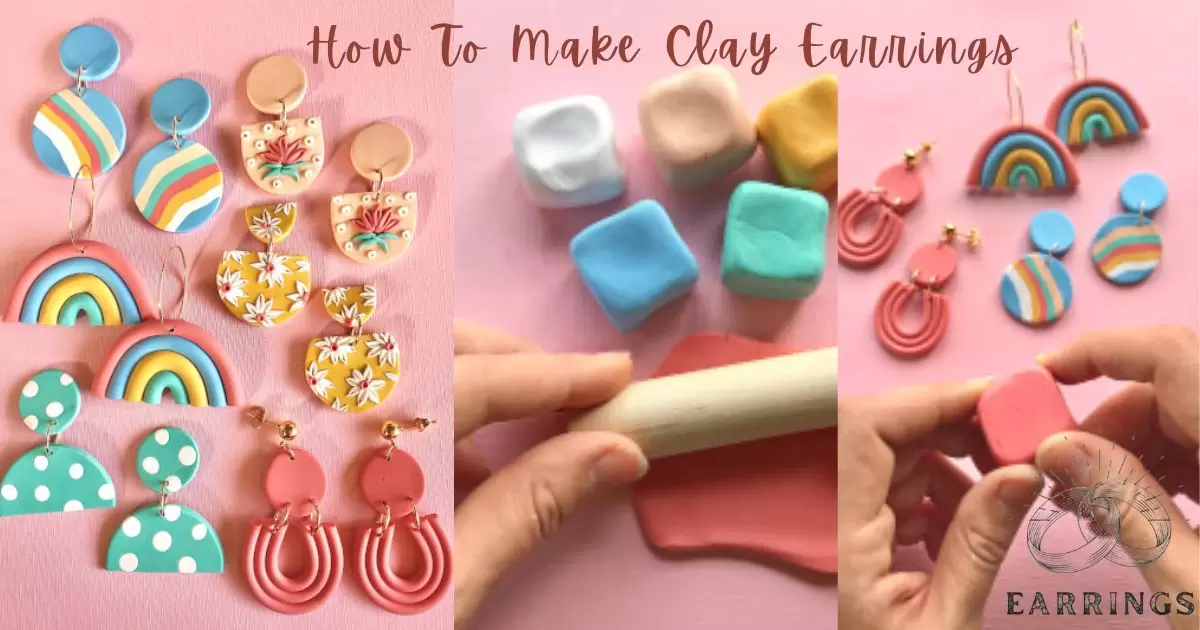
Knead polymer clay until soft to make clay earrings. Shape into desired design and bake according to package directions. Once cooled, add earrings for a personalized and stylish accessory.
Unleash your creativity with our guide on how to make stunning clay earrings. Enter a world of shapes and colors as you mold. Create and adorn your own unique accessories and transform ordinary clay into extraordinary fashion statements.
Popular choices include polymer clay and air-dry clay. Then gather the necessary tools like a rolling pin, cookie cutter and a small knife. Knead the clay to make it pliable and then roll it to your desired thickness.
What is needed to make clay earrings?
Making clay earrings can be a fun and creative DIY project. Here is a basic list of materials you may need:
- Clay
- Cutting Tools
- Rolling Pin
- Earring Hooks or Studs
- Baking Sheet
- Paints and Brushes (optional)
Is making clay earrings hard?
Making clay earrings can be a fun and accessible craft for beginners. Start by choosing a soft and flexible clay such as polymer clay, available in a variety of colors. Roll the clay into desired shapes and sizes. Then use simple tools to create textures or patterns.
After shaping, bake the earrings in the oven to harden. Finish with paint or varnish for added flavor. It does require attention to detail though. This makes clay earrings generally considered manageable and enjoyable.
What type of clay is used to make earrings?
| Step | Task |
| 1 | Gather Materials |
| Polymer clay (such as Fimo or Sculpey) | |
| Clay sculpting tools | |
| Earring findings (hooks, studs or hoops) | |
| Rolling pin or acrylic roller | |
| Oven for baking | |
| 2 | Choose Clay Colors |
| Select desired colors for your earrings | |
| Consider mixing colors for unique patterns | |
| 3 | Condition Clay |
| Knead and soften the clay to improve texture | |
| Ensure colors are evenly distributed | |
| 4 | Shape Earring Design |
| Use sculpting tools to create desired shapes | |
| Keep thickness consistent for uniform baking | |
| 5 | Make Earring Holes |
| Use a needle or toothpick to create earring holes | |
| Ensure holes are large enough for findings | |
| 6 | Bake Clay |
| Follow clay package instructions for baking | |
| Use an oven-safe surface and monitor closely | |
| 7 | Cool and Finish |
| Allow earrings to cool completely after baking | |
| Sand edges or add additional details if desired | |
| 8 | Attach Earring Findings |
| Once cooled, attach findings using glue or by baking them with the clay | |
| Ensure secure attachment for durability |
These steps provide a basic guide for creating earrings with polymer clay. Adjustments can be made based on specific clay brands or personal preferences.
How do you make air dry clay earrings?

Choose suitable air dry clay in your favorite color to make air dry clay earrings. Take a small amount and roll it into a smooth ball. Flatten the ball into a thin smooth layer using a rolling pin or your hands.
Use a cookie cutter or knife to cut out the desired earring shapes. Using a toothpick or straw, make holes for the earring hooks. Allow the clay pieces to air dry thoroughly. Follow the directions on the soil packaging.
To make beaded earrings, begin by selecting your desired beads and arranging them in a pattern. Thread the beads onto jewelry wire or nylon thread, securing them in place with knots or crimps. Attach the beaded design to the earrings through the premade holes, and voilà, your handmade air-dried clay and beaded earrings are ready to wear.
Frequently Asked Question
What type of clay is best for earrings?
Polymer clay like Sculpey or Fimo, is ideal due to its versatility and durability.
Do I need special tools for clay earrings?
Basic tools include a rolling pin, clay cutter, needle tool and earring findings.
How do I shape clay earrings?
Condition clay roll it out use a cutter and shape as desired with hands or molds.
How to add designs to clay earrings?
Use stamping, painting, carving or texture sheets before sealing with glaze.
How to bake clay earrings?
Follow the soil manufacturer’s instructions; Typically, bake at 275°F (130°C) for 15-30 minutes per 1/4-inch (6 mm) thickness.
Conclusion
Making clay earrings is a simple and fun process that allows for creativity and personal expression. By following basic steps like choosing the right type of soil. Adapting it to the desired design and adding personalized details.
These individuals can easily make unique and stylish earrings. The versatility of clay as a medium offers endless possibilities. This makes a fantastic DIY project for anyone looking to expand their instrument collection.


